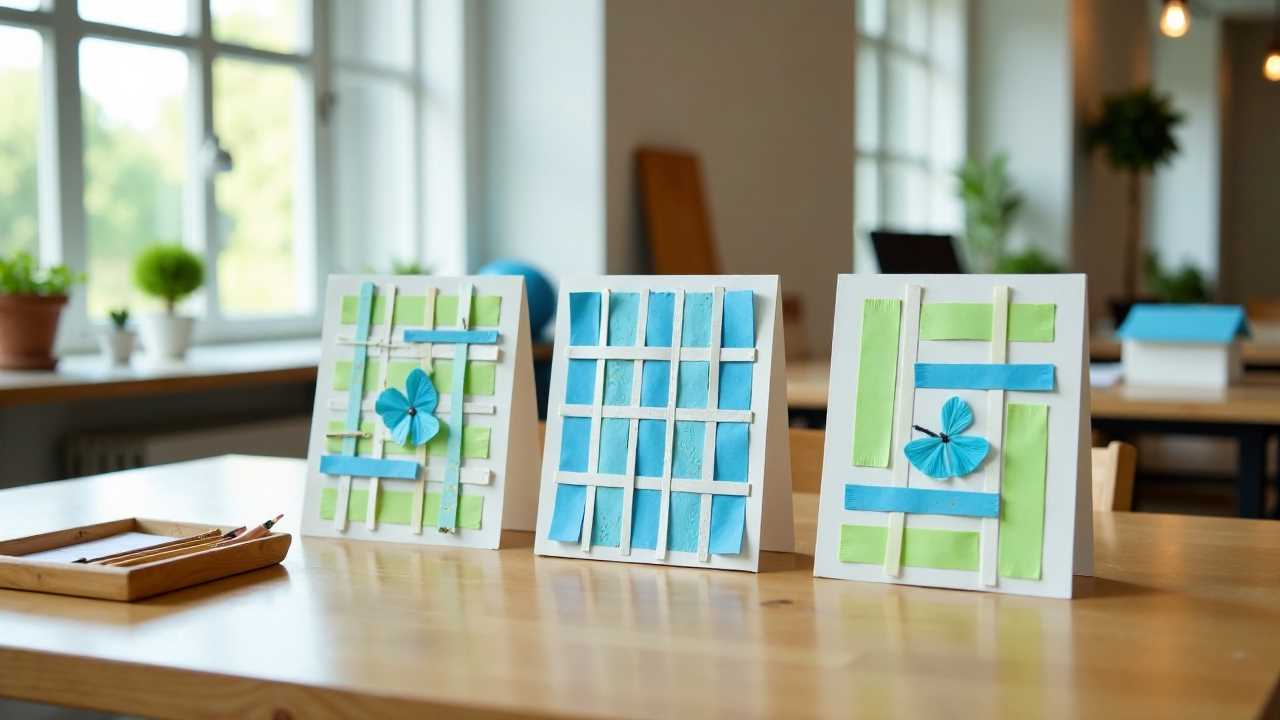
Introduction to Paper Mache Projects
Paper mache projects are a delightful way to engage in creative art while providing endless opportunities for kids activities. This versatile craft technique involves using paper strips and a paste to create three-dimensional objects. Not only does it stimulate creativity, but it also enhances fine motor skills and encourages imaginative play. Whether you are a parent looking for engaging DIY projects or a teacher seeking innovative paper crafts for your classroom, paper mache offers a world of possibilities.
Gathering Craft Supplies for Paper Mache
Before diving into your paper mache projects, it’s essential to gather the necessary craft supplies. Here’s a list of items you will need:
- Newspaper or old paper: This will serve as the primary material for your paper mache.
- Flour and water: These ingredients create a simple paste. Alternatively, you can use white glue mixed with water.
- Balloons or molds: Balloons are perfect for creating rounded shapes, while molds can help form specific designs.
- Paint and brushes: Once your project is dry, painting it will add a personal touch.
- Decorative items: Glitter, sequins, or fabric can be used to embellish your finished piece.
Having these supplies on hand will ensure a smooth crafting experience.
Step-by-Step Guide to Creating Paper Mache Projects
Creating paper mache projects is a straightforward process that can be broken down into simple steps. Here’s how to get started:
1. Prepare the Paste: Mix one part flour with two parts water to create a smooth paste. If you prefer, you can use white glue diluted with water.
2. Tear the Paper: Tear your newspaper or paper into strips. The size of the strips can vary, but they should be about 1 inch wide and 6 inches long for easy handling.
3. Inflate the Balloon: If you are using a balloon, inflate it to your desired size. This will serve as the base for your project.
4. Apply the Paper: Dip each strip of paper into the paste, ensuring it is fully coated. Apply the strips to the balloon or mold, overlapping them slightly. Continue layering until the entire surface is covered.
5. Drying Time: Allow your project to dry completely. This may take several hours or overnight, depending on the humidity and thickness of the layers.
6. Painting and Decorating: Once dry, pop the balloon (if used) and remove it from the paper mache shell. Paint your creation with vibrant colors and add any decorative elements you desire.
Fun Paper Mache Project Ideas for Kids
Now that you understand the basics of paper mache, let’s explore some fun project ideas that will inspire creativity in children:
1. Animal Masks: Create fun animal masks using paper mache. Kids can choose their favorite animals and decorate the masks with paint, feathers, and other embellishments.
2. Decorative Bowls: Form a bowl shape using a balloon as a mold. Once dry, paint it in bright colors and use it to store small items or as a decorative piece.
3. Planets for a Solar System Model: Make a series of paper mache planets to create a solar system model. This project combines art with science, making it an educational activity.
4. Holiday Decorations: Craft unique decorations for holidays such as Halloween or Christmas. Create spooky pumpkins or festive ornaments that can be displayed proudly.
5. Sculptures: Encourage kids to create their own sculptures. They can make anything from abstract shapes to recognizable figures, allowing for limitless imagination.
Benefits of Engaging in Paper Mache Projects
Participating in paper mache projects offers numerous benefits for children. Here are some key advantages:
- Enhances Creativity: Kids can express themselves through their art, experimenting with colors, shapes, and designs.
- Improves Motor Skills: The process of tearing paper, applying paste, and painting helps develop fine motor skills and hand-eye coordination.
- Encourages Teamwork: Group projects foster collaboration and communication among children, making it a great activity for classrooms or playdates.
- Provides a Sense of Accomplishment: Completing a paper mache project gives children a sense of pride and achievement, boosting their confidence.
Tips for Successful Paper Mache Projects
To ensure a successful crafting experience, consider the following tips:
- Choose the Right Environment: Set up a designated crafting area that is easy to clean. Cover surfaces with newspapers or plastic to protect them from mess.
- Be Patient: Allow ample drying time between layers to prevent sagging or collapsing.
- Encourage Individuality: While it’s great to provide guidance, encourage kids to add their personal touch to their projects.
- Safety First: Ensure that all materials used are safe for children, especially when working with glue and paints.
Paper mache projects are an excellent way to engage children in creative art while providing a platform for learning and development. With simple DIY projects and easily accessible craft supplies, the possibilities are endless. From fun decorations to educational models, paper mache offers a unique blend of creativity and skill-building that can be enjoyed by kids of all ages. So gather your supplies, unleash your imagination, and embark on a journey of artistic exploration with paper mache!
 Kids Art ProjectsParty PlanningPaper CraftsOrigami for KidsPrivacy PolicyTerms And Conditions
