Introduction to Paper Pinwheel Projects
Paper pinwheel projects are a delightful way to engage children in the world of paper crafts. These projects not only spark creativity but also enhance fine motor skills and promote imaginative play. By incorporating techniques from origami, collage, scrapbooking, stamping, weaving, and cardmaking, we can create stunning pinwheels that serve as both art and entertainment.
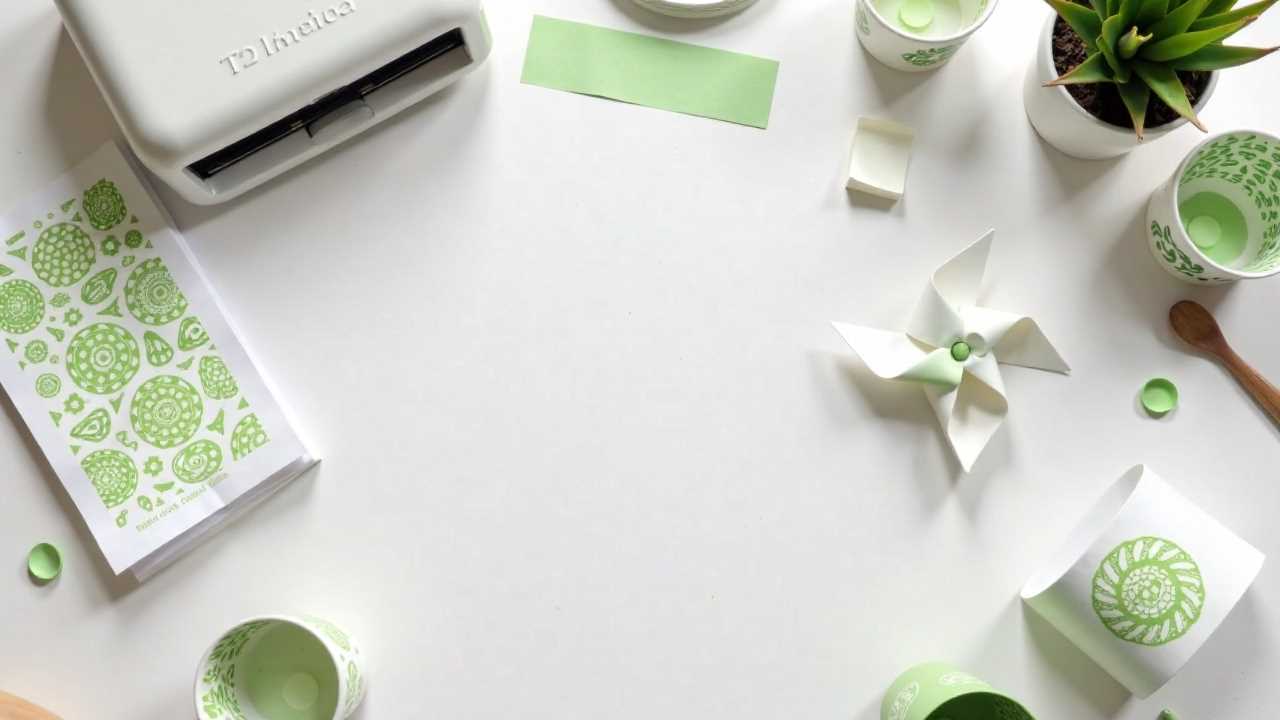
The Joy of Origami Pinwheels
Origami, the art of paper folding, is a fantastic starting point for creating pinwheels. The beauty of origami lies in its simplicity and the intricate designs that can emerge from a single sheet of paper. To make an origami pinwheel, begin with a square piece of paper.
1. Folding the Paper: Fold the paper diagonally in both directions to create an "X" shape. Unfold it to reveal the creases.
2. Creating the Pinwheel Shape: Fold each corner of the square towards the center point, ensuring that the edges align perfectly.
3. Securing the Pinwheel: Use a pushpin or a small brad to secure the center, allowing the pinwheel to spin freely.
Children can personalize their origami pinwheels by using patterned paper or coloring their own designs. This not only makes the project more engaging but also allows for a unique expression of creativity.
Collage Techniques for Colorful Pinwheels
Collage is another exciting technique to enhance paper pinwheel projects. By combining different materials, children can create visually striking pinwheels that stand out.
1. Gathering Materials: Collect various papers, such as magazines, colored tissue paper, or scrapbooking paper.
2. Designing the Collage: Cut out shapes or strips from the collected materials and glue them onto a base sheet of paper.
3. Constructing the Pinwheel: Once the collage is complete, follow the origami steps to fold and secure the pinwheel.
This method encourages children to think outside the box and use their imagination to create unique designs. The end result is a vibrant pinwheel that showcases their artistic flair.
Scrapbooking Inspiration for Pinwheel Projects
Scrapbooking techniques can also be applied to paper pinwheel projects. By incorporating elements from scrapbooking, children can add personal touches to their pinwheels.
1. Choosing a Theme: Encourage children to select a theme for their pinwheel, such as seasons, holidays, or favorite animals.
2. Adding Embellishments: Use stickers, stamps, or decorative paper to embellish the pinwheel.
3. Assembling the Pinwheel: After decorating, follow the origami steps to create the pinwheel.
This approach not only enhances the visual appeal of the pinwheel but also allows children to express their interests and preferences.
Stamping Techniques for Unique Designs
Stamping is a fun way to add patterns and textures to paper pinwheels. Children can create their own stamps using foam shapes or purchase pre-made stamps from craft stores.
1. Creating Stamps: If making custom stamps, cut shapes from foam and attach them to a wooden block or a sturdy piece of cardboard.
2. Stamping the Paper: Before folding the pinwheel, stamp designs onto the paper using ink pads.
3. Constructing the Pinwheel: Once the stamping is complete, follow the origami steps to create the pinwheel.
This technique allows for endless possibilities in design, making each pinwheel truly one-of-a-kind.
Weaving for Textured Pinwheels
Weaving can add a tactile element to paper pinwheel projects. This method involves interlacing strips of paper to create a textured surface.
1. Preparing the Strips: Cut strips of paper in various colors and widths.
2. Weaving the Strips: Lay down a base strip and weave additional strips over and under to create a pattern.
3. Forming the Pinwheel: Once the weaving is complete, cut the woven piece into a square and follow the origami steps to create the pinwheel.
Weaving not only enhances the visual texture of the pinwheel but also develops hand-eye coordination and concentration skills in children.
Cardmaking Techniques for Functional Pinwheels
Cardmaking can provide a functional aspect to paper pinwheel projects. Children can create greeting cards featuring pinwheels as a central design element.
1. Designing the Card: Fold a piece of cardstock to create a card base.
2. Creating the Pinwheel: Follow any of the previously mentioned techniques to create a pinwheel.
3. Attaching the Pinwheel: Secure the pinwheel to the front of the card using adhesive or a brad, allowing it to spin.
This project not only results in a beautiful card but also teaches children the joy of giving handmade gifts.
The Endless Possibilities of Paper Pinwheel Projects
Paper pinwheel projects are a versatile and enjoyable way to engage children in creative activities. By incorporating techniques from origami, collage, scrapbooking, stamping, weaving, and cardmaking, we can transform simple paper into whimsical art. These projects not only foster creativity but also develop essential skills in children, making them a perfect addition to any crafting session. Whether for a birthday party, a school project, or simply a fun afternoon, paper pinwheel projects are sure to delight both children and adults alike.
 Kids Art ProjectsParty PlanningPaper CraftsOrigami for KidsPrivacy PolicyTerms And Conditions
