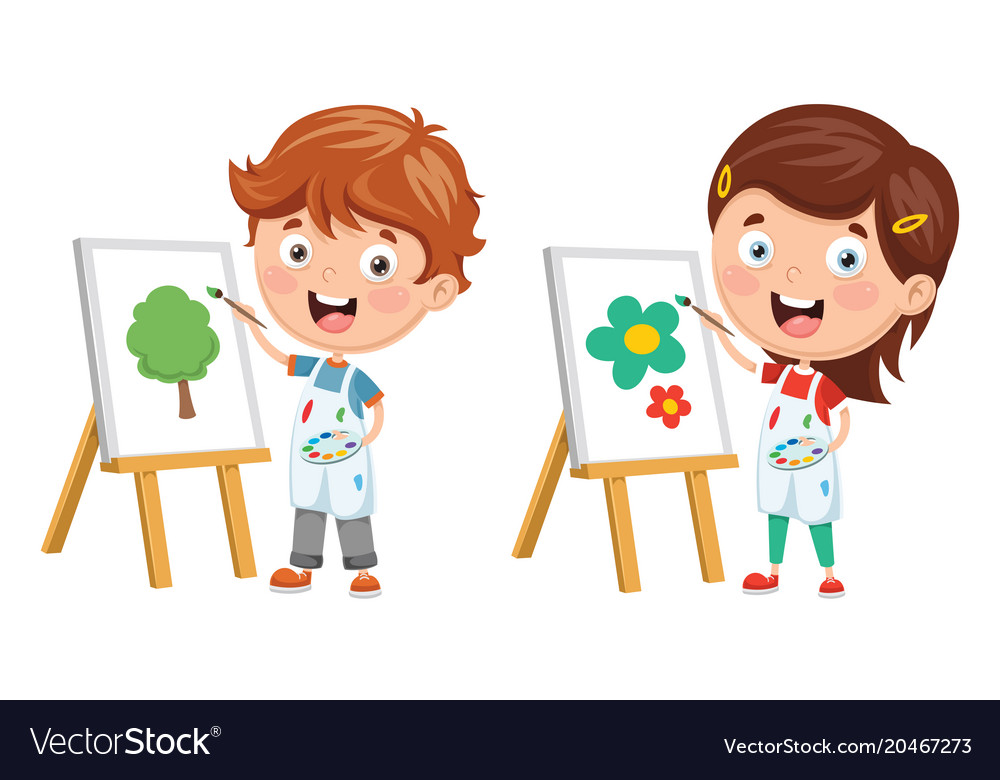
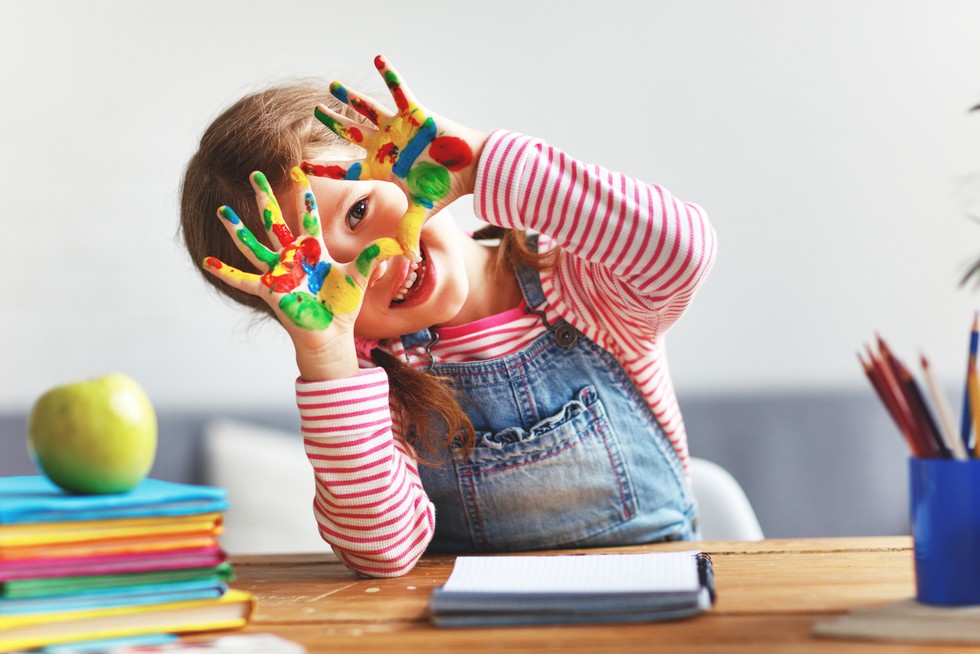
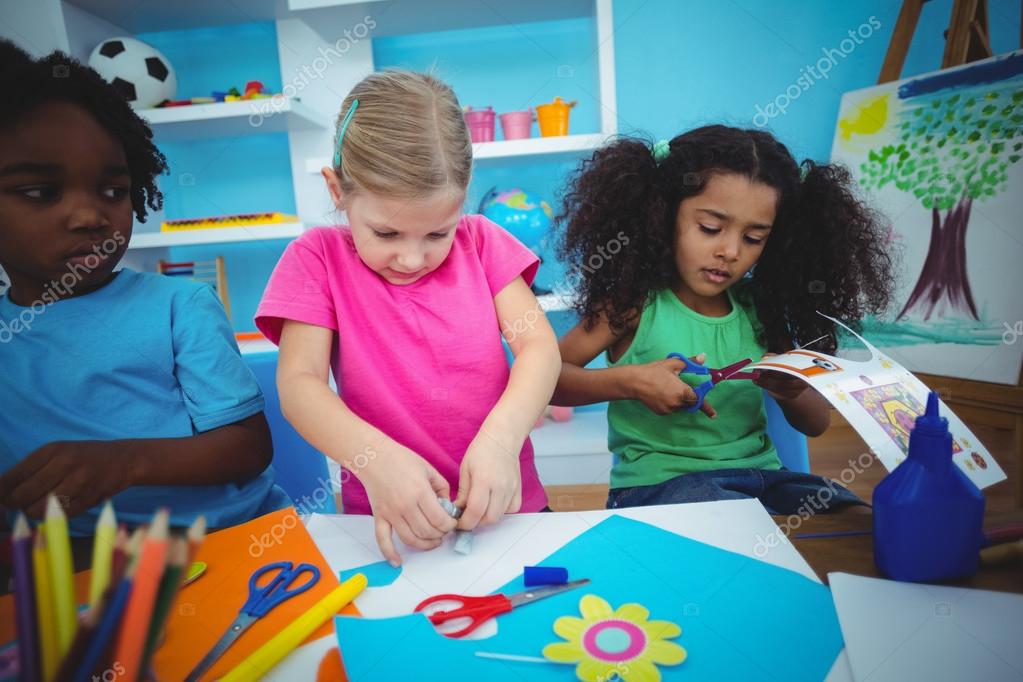
In a world where creativity is often stifled, especially for children, unlocking their artistic potential is essential.
This article presents the top 10 trending at-home art projects for kids, designed to inspire and foster their imagination.
From homemade bath bombs to DIY dream catchers, these projects provide a canvas for young minds to explore, create, and express themselves freely.
With this collection of engaging and informative ideas, parents and caregivers can ignite the spark of creativity in their children and encourage their journey towards artistic freedom.
Homemade Bath Bombs
One of the top ten trending at-home art projects for kids is making homemade bath bombs. This creative endeavor allows children to explore their artistic side while also enjoying a relaxing and luxurious bath experience.
Homemade bath bombs are not only fun and easy to make, but they also provide numerous benefits. By incorporating homemade bath salts into the mixture, kids can create personalized scents and colors that suit their preferences. Additionally, the use of bath bomb molds allows for endless possibilities in terms of shapes and designs.
From vibrant colors to shimmering glitter, kids can let their imagination run wild as they craft their very own bath bombs. The process of making these bath bombs can be a source of inspiration for children, encouraging them to explore their creativity and experiment with different ingredients to create unique and indulgent bath time treats.
DIY Snow Globes
Snow globes are a classic and enchanting art project that kids can easily create at home. From unique snow globe designs to the materials needed, there are endless possibilities for creativity.
Unique Snow Globe Designs
As children explore their creativity, they can create unique snow globe designs using simple materials found at home. These homemade snow globes not only make for beautiful decorations but also provide a fun sensory experience for kids.
Here are four ideas to inspire their imagination:
Nature-inspired: Encourage children to collect small items from nature, like colorful leaves or tiny pinecones, to create a whimsical winter scene inside their snow globe.
Personalized photos: Help kids print out small photos of their favorite memories. They can cut and laminate the photos before placing them inside the snow globe for a personalized touch.
Glitter galore: Add a touch of sparkle by mixing different colors and sizes of glitter. Kids can experiment with layering glitter to create a mesmerizing effect when the snow globe is shaken.
Bath bomb surprise: Incorporate homemade bath bomb recipes into the snow globe design. Kids can create bath bombs in various shapes and colors and place them at the bottom of the snow globe. When the globe is shaken, it will release a burst of fragrance and color.
Let your child's imagination run wild as they create their own unique snow globe designs. These DIY projects are not only a great way to keep kids entertained but also an opportunity to nurture their creativity and artistic skills.
Materials for DIY Snow Globes
The selection of appropriate materials is crucial for creating DIY snow globes that will engage children's creativity and provide a satisfying artistic experience.
When it comes to making your own snow globes, there are a variety of options to consider. DIY snow globe kits are a popular choice as they come with all the necessary materials, including a clear globe, base, and waterproof glue. These kits often come with pre-made figurines or allow children to create their own using clay or other moldable materials.
However, if you're looking for alternative snow globe fillers, consider using small toys, seashells, glitter, or even miniatures of your child's favorite objects or characters. The possibilities are endless, and encouraging children to think outside the box will enhance their creativity and imagination.
Homemade Candles
For kids looking to explore their creativity at home, making homemade candles is a popular and engaging art project. Not only is it a fun activity, but it also allows children to learn candle making techniques and experiment with different scented candle ideas.
Here are four ideas to get started:
Basic Candle: Begin with a simple candle-making kit that includes wax, wicks, and molds. Let your child choose their favorite color and scent to personalize their creation.
Layered Candle: Teach your child how to create beautiful layered candles by pouring different colored wax in stages. This technique allows for endless color combinations and creates a stunning visual effect when the candle is lit.
Scented Soy Candles: Introduce your child to the world of natural ingredients by making scented soy candles. They can choose from a variety of essential oils to create unique and calming aromas.
Decorative Candle Holders: Encourage your child to decorate their candle holders using materials like glitter, beads, or ribbons. This will add a personal touch and make their candles even more special.
With homemade candles, children can explore their artistic side while enjoying the soothing ambiance of a warm, scented glow. Let their creativity shine and watch as they unlock their imaginations.
DIY Paper Lanterns
One popular art project for kids to try at home is creating DIY paper lanterns using simple materials and their imagination. DIY lantern patterns are a great way to unleash creativity and add a touch of magic to any space.
With just a few basic supplies like construction paper, scissors, and glue, children can design and decorate their own unique lanterns. Lantern decorating ideas are endless, from painting colorful patterns and shapes to adding glitter and ribbons.
These lanterns can be hung in bedrooms, used as centerpieces for parties, or even carried around during nighttime adventures. The process of making paper lanterns not only encourages artistic expression but also teaches children important skills like problem-solving, fine motor coordination, and patience.
Homemade Soap
Creating homemade soap can be a fun and satisfying activity for kids, allowing them to explore their creativity while learning about the science and art of soap-making. Here are four reasons why making homemade soap is a great project for kids:
Educational: Making soap involves understanding the chemical reactions between oils, water, and lye. Kids can learn about the properties of different ingredients and how they interact to create soap.
Customization: Homemade soap recipes can be tailored to suit individual preferences. Kids can experiment with various scents, colors, and additives to create unique bars of soap.
Natural and Eco-Friendly: Homemade soap allows kids to avoid harsh chemicals found in commercial products. They can use natural ingredients like essential oils and plant-based colorants, promoting a healthier and more sustainable lifestyle.
Gift-Giving: Homemade soap makes a thoughtful and personal gift. Kids can create beautiful soap bars to share with family and friends, showcasing their creativity and craftsmanship.
Engage your kids in the art of soap-making and let their creativity soar while enjoying the benefits of homemade soap.
DIY Beeswax Wraps
Several trending at-home art projects for kids include making DIY Beeswax Wraps. Beeswax wraps are a sustainable and eco-friendly alternative to plastic wrap. They are made by coating a piece of fabric with melted beeswax, creating a reusable and washable food wrap.
The benefits of using beeswax wraps are numerous. Firstly, they help reduce plastic waste and contribute to a greener planet. Secondly, they keep food fresh for longer by providing a breathable yet protective barrier. Additionally, beeswax wraps are versatile and can be used to wrap sandwiches, fruits, vegetables, and even cover bowls or jars.
Making DIY beeswax wraps not only encourages creativity but also teaches kids about sustainability and the importance of reducing single-use plastics. So, why not embark on this artistic and environmentally-friendly project with your little ones?
DIY Shrinky Dinks
Looking for a fun and creative project to do with your kids? Look no further than DIY Shrinky Dinks! These versatile and shrinkable sheets of plastic offer endless possibilities for artistic expression.
From making keychains and jewelry to creating custom magnets and ornaments, Shrinky Dinks allow kids to unleash their creativity and bring their designs to life.
To ensure successful shrinking, follow these tips: preheat the oven, use colored pencils or permanent markers for vibrant designs, and always supervise children during the baking process.
Get ready for a shrink-tastic art adventure!
Creative Uses for Shrinky Dinks
The versatility of Shrinky Dinks allows for the exploration of imaginative and artistic possibilities. These DIY shrinkable plastic sheets are not only fun to play with but can also be transformed into unique creations.
Here are some creative uses for Shrinky Dinks and tips for successful shrinking:
Jewelry: Design and shrink your own earrings, bracelets, and necklaces. The small size of Shrinky Dinks makes them perfect for creating intricate and personalized accessories.
Keychains: Make custom keychains by drawing or printing designs onto the plastic sheets. Once shrunk, attach them to a keyring for a unique and practical accessory.
Ornaments: Create one-of-a-kind ornaments for holidays or special occasions. Use markers, colored pencils, or even acrylic paint to decorate the Shrinky Dinks before shrinking them.
Magnets: Cut out shapes, add a magnet to the back, and turn your Shrinky Dinks into adorable fridge magnets. Display your artwork or photos in a fun and creative way.
With these creative uses and tips for successful shrinking, your imagination will be unleashed, and you'll be amazed at what you can create with Shrinky Dinks. Let your creativity soar and enjoy the freedom of artistic expression!
Tips for Successful Shrinking
For optimal results when shrinking DIY Shrinky Dinks, follow these essential tips and techniques.
First, make sure to use the correct type of plastic. Look for sheets specifically designed for Shrinky Dinks, as they are formulated to shrink evenly and retain their shape.
Next, prepare your artwork on the plastic using colored pencils or permanent markers. Remember to keep your designs simple and bold, as fine details may not translate well when shrinking.
When it's time to shrink, preheat your oven to the recommended temperature and place your creations on a parchment-lined baking sheet. Keep a close eye on them as they shrink, as they can curl or warp if overheated.
Once they have flattened and cooled, enjoy your miniature masterpieces!
These shrinky dinks tips will ensure successful shrinking techniques and provide endless creative possibilities for you and your kids.
Homemade Lip Balm
One popular option for a creative and practical at-home art project for kids is making homemade lip balm. Not only is it a fun and engaging activity, but it also allows children to create their own personalized lip care products. Here are four reasons why making homemade lip balm is a great project for kids:
DIY Lip Scrub: Before applying lip balm, it is important to exfoliate the lips to remove dead skin cells. Kids can learn to make their own DIY lip scrub using simple ingredients like sugar and honey.
Natural Lip Balm: By making their own lip balm, kids can choose natural ingredients like beeswax, coconut oil, and essential oils. This teaches them about the importance of using natural products and avoiding harsh chemicals.
Personalized Flavors: Kids can get creative and experiment with different flavors and scents for their lip balm. They can add fruit extracts, vanilla, or even chocolate to make it uniquely theirs.
Practical and Useful: Homemade lip balm is not only a fun art project but also a practical one. Kids can use the lip balm they create to keep their lips moisturized and protected.
Engaging in the process of making homemade lip balm allows kids to explore their creativity, learn about natural ingredients, and create something useful for themselves. It's a great way to encourage their artistic expression while promoting self-care and independence.
DIY Dream Catchers
Dream catchers have long been revered for their beauty and symbolism, making them a perfect art project for kids to explore their creativity.
From unique designs to crafting materials, DIY dream catchers offer endless possibilities.
With just a few simple materials, children can create their own personalized dream catchers, learning about different techniques and expressing their own unique style.
Unique Dream Catcher Designs
Among the various trending at-home art projects for kids, explore the distinctive designs of DIY dream catchers. Dream catchers have a rich history and symbolism that make them a unique and meaningful craft. Here are four ideas to inspire your own dream catcher creations:
Nature-inspired dream catchers: Incorporate natural elements like feathers, leaves, and twigs into your design to bring a touch of the outdoors to your dream catcher.
Colorful dream catchers: Use vibrant yarns, ribbons, and beads to create a rainbow of colors that will catch the eye and spark creativity.
Personalized dream catchers: Add personal touches by using materials that hold special meaning to you or your child, such as charms, small trinkets, or even photographs.
Dream catchers with positive affirmations: Weave in inspirational quotes or words of encouragement to help promote positivity and good dreams.
Crafting Dream Catcher Materials
Using a variety of materials such as yarn, beads, feathers, and hoops, crafters can create their own DIY dream catchers to capture and filter out negative energy. Crafting dream catcher feathers can be a fun and therapeutic activity for both kids and adults alike.
By weaving dream catcher patterns with these materials, you can design unique and personalized dream catchers that reflect your creativity and personality. The process of crafting dream catchers allows you to tap into your imagination and express yourself freely, making it a perfect project for those who desire freedom in their artistic endeavors.
Whether you choose to follow traditional designs or create your own, crafting dream catcher materials offers a wonderful opportunity to explore your artistic abilities and bring positive energy into your living space.
Homemade Bookmarks
In the realm of arts and crafts for children, one popular project that sparks creativity and encourages reading is the creation of homemade bookmarks. Not only do homemade bookmarks serve a practical purpose, but they also provide an opportunity for kids to express their individuality and showcase their artistic skills.
Here are four creative bookmark ideas that can be easily made at home:
Origami Corner Bookmarks: Teach your child how to fold colorful paper into unique shapes, such as animals or flowers, and attach them to the corner of a page for a delightful surprise.
Button Bookmarks: Collect an assortment of buttons and thread them onto a ribbon or elastic band. Your child can choose different combinations to create personalized and eye-catching bookmarks.
Painted Popsicle Stick Bookmarks: Allow your child to paint popsicle sticks in various colors and patterns, then attach decorative elements such as stickers, ribbons, or beads to make them truly one-of-a-kind.
Fabric Scraps Bookmarks: Dig into your fabric scraps and cut them into different shapes and sizes. Encourage your child to sew or glue the fabric pieces together, adding embellishments like sequins or embroidery for a touch of flair.
Frequently Asked Questions
What Are Some Safety Precautions to Take When Making Homemade Bath Bombs?
When making homemade bath bombs, it is important to take safety precautions. Avoid using harmful ingredients such as artificial dyes and glitter. Instead, choose natural colors and opt for essential oils that are safe for use in bath products.
Can You Use Any Type of Oil for Making Homemade Candles?
When making homemade candles, it is important to consider the type of oil to use. Different oils have different properties and can affect the quality and safety of the candles. Here are the pros and cons of using different types of oils for homemade candles.
How Can I Personalize My DIY Paper Lanterns?
Creative lantern designs and unique paper lantern embellishments are a great way to personalize DIY paper lanterns. From painting and decoupage to adding glitter and ribbons, there are endless possibilities to make your lanterns truly one-of-a-kind. Let your imagination soar!
What Are Some Alternative Materials I Can Use for Making Homemade Soap?
When making homemade soap, there are various alternative materials that can be used, such as herbs, essential oils, and natural colorants. Additionally, creative soap molds can add a unique touch to the finished product, allowing for endless possibilities.
Can I Use Regular Crayons for DIY Shrinky Dinks?
Regular crayons can be used for DIY shrinky dinks, providing a fun and accessible alternative for creative projects. When it comes to making homemade soap, there are various alternative materials that can be used, offering flexibility and freedom in crafting unique products.
 Kids Art ProjectsParty PlanningPaper CraftsOrigami for KidsPrivacy PolicyTerms And Conditions
