
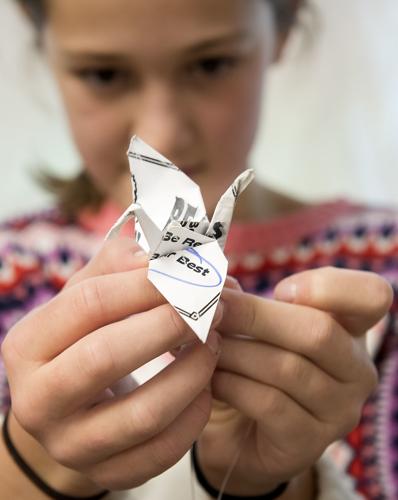
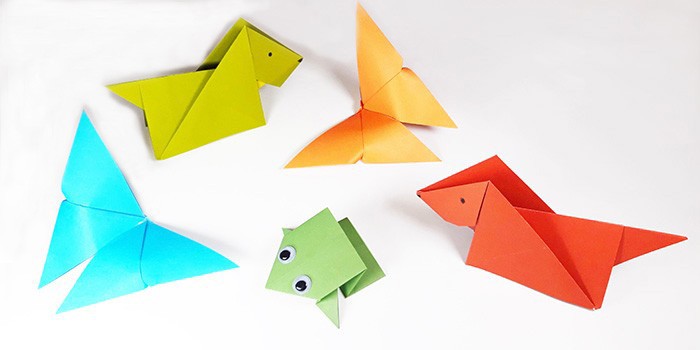
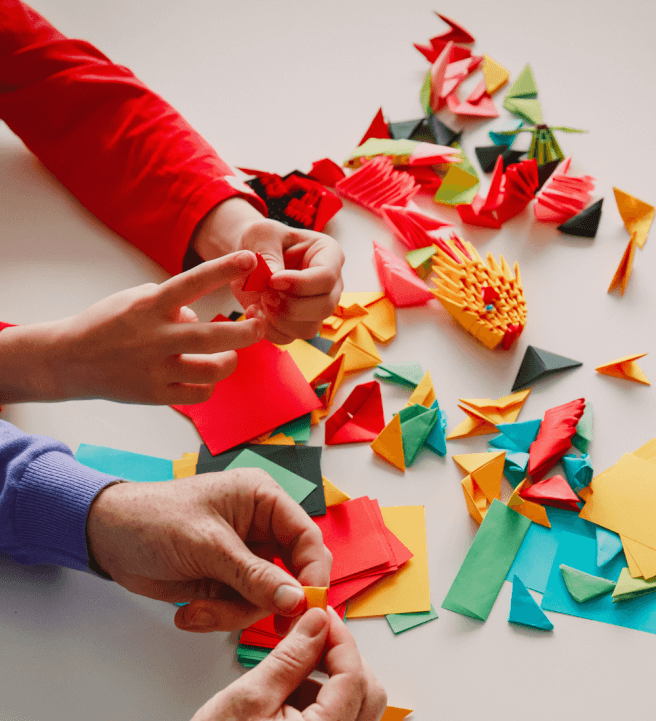
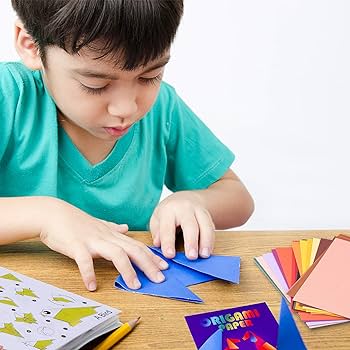
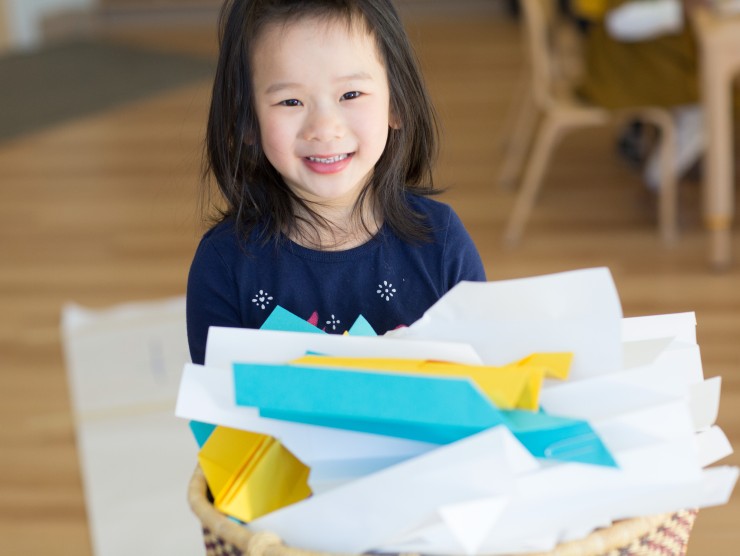
Discover the captivating art of 3D origami with our selection of 10 exciting models that will ignite the imagination and creativity of your after school club.
From elegant swans and majestic dragons to delicate butterflies and intricate flower bouquets, this article provides step-by-step instructions for constructing these mesmerizing creations.
Whether you're a beginner or a seasoned origami enthusiast, these models offer a perfect opportunity to explore the world of paper folding and unleash your artistic potential.
Get ready for an exhilarating journey into the world of 3D origami!
Swan
The swan is a popular and elegant origami model that can be constructed in your after school club. This beautiful creation captures the essence of grace and freedom, making it a favorite among origami enthusiasts.
The swan folding techniques require precision and patience, as each fold must be carefully executed to achieve the desired outcome. Beginners can start with simpler swan designs, gradually advancing to more intricate variations.
One creative option is the 3D swan, which adds depth and dimension to the model. Another variation is the modular swan, where multiple units are assembled to form a larger, more elaborate swan.

The possibilities are endless, allowing students to explore their creativity and express themselves through the art of origami.
Dragon
When it comes to folding dragons in origami, there are various techniques that can be employed to create intricate and stunning models. From advanced folding techniques like wet-folding to using multiple sheets of paper to achieve a multi-colored dragon, the possibilities are endless.
Additionally, there are challenging dragon variations that require precise folds and careful attention to detail, making the process both engaging and rewarding for students in your after school club.
Dragon Folding Techniques
One essential folding technique to create a 3D origami dragon involves precisely folding and connecting 200 triangular units. This advanced origami technique requires patience and precision, but the end result is a stunning and intricate dragon sculpture.
Each triangular unit represents a section of the dragon's body, and when connected together, they create a sense of movement and fluidity. The folding process not only requires attention to detail but also an understanding of the dragon's anatomy.
Challenging Dragon Variations
With careful folding and strategic placement, origami enthusiasts can create challenging dragon variations that showcase their skills and imagination. Advanced dragon designs require mastery of challenging dragon techniques, such as intricate folds, precise creases, and complex shaping. These variations push the boundaries of traditional origami, allowing artists to explore new possibilities and create stunning 3D models.
One popular challenging dragon technique is the use of multiple sheets of paper to create a more detailed and realistic dragon. By layering different colors or textures, artists can add depth and texture to their models, bringing them to life. Another technique involves incorporating additional elements, such as wings, horns, or scales, to enhance the dragon's appearance and create a more dynamic composition.
Creating these advanced dragon designs requires patience, practice, and a willingness to experiment. But the end result is a masterpiece that embodies the artist's passion and creativity, proving that with origami, the possibilities are limitless.
Butterfly
The butterfly is a popular origami model due to its vibrant colors and delicate wings. There are various techniques for shaping the wings to create different butterfly variations, allowing for endless possibilities and creativity.
Once completed, these 3D origami butterflies can be displayed in unique and imaginative ways, adding a touch of beauty and elegance to any space.
Colorful Butterfly Variations
Featuring vibrant hues and intricate folding techniques, the Colorful Butterfly Variations (Butterfly) add a captivating touch to any origami collection. When it comes to creating these stunning origami butterflies, the choice of paper and coloring techniques play a crucial role in achieving the desired effect.
To bring your Colorful Butterfly Variations to life, it is important to carefully select the right paper. Opt for lightweight and flexible paper that can hold the delicate folds and maintain the shape of the butterfly. Choose papers with a smooth finish to enhance the colors and patterns.
Once you have selected the perfect paper, unleash your creativity with butterfly coloring techniques. Consider using watercolors, markers, or colored pencils to add vibrant hues and intricate details to your butterflies. Experiment with different color combinations to create unique and eye-catching designs.
With the right paper selection and butterfly coloring techniques, you can create a diverse and visually striking collection of Colorful Butterfly Variations that will inspire awe and wonder in anyone who sees them. Let your imagination take flight and enjoy the freedom of artistic expression in your origami after school club.
Techniques for Shaping Wings
To achieve the desired shape and form of the butterfly's wings, skilled origami artists employ precise folding and creasing techniques. These techniques mimic the graceful curves and intricate patterns found in bird wings and other animal origami models.
The key to shaping the wings is to create a sense of dimensionality and lifelike movement. This can be achieved through careful manipulation of the paper, using techniques such as valley and mountain folds, pleats, and sinks.
By strategically folding and creasing the paper, artists can create the illusion of feathers, veins, and other details that give the wings a realistic appearance.
These techniques allow origami enthusiasts to bring their paper butterflies to life, capturing the essence of nature and freedom in their delicate creations.
Creative Display Ideas
Utilize imaginative techniques to showcase your 3D origami butterfly, capturing its vibrant colors and intricate details in a visually captivating display.
When thinking about creative display ideas for your unique origami designs, consider incorporating elements that enhance the butterfly's natural habitat. For example, create a backdrop of lush greenery or delicate flowers to simulate a garden setting.
You can also suspend the butterfly from a clear fishing line to give the illusion of it floating in mid-air.
Another idea is to place the origami butterfly within a shadow box, surrounded by a collage of pressed flowers and leaves, adding an organic and whimsical touch to the display.
Additionally, using LED lights to highlight specific features of the butterfly can create a mesmerizing effect.
Let your imagination soar as you explore different ways to showcase your 3D origami butterfly, ensuring that its beauty is accentuated and admired by all.
Elephant
The origami elephant is a fascinating and intricate model that will challenge and engage students in your after school club. Creating an origami elephant requires mastery of various techniques, such as folding, shaping, and sculpting paper to achieve the desired form. The process involves precise folds and strategic manipulation of the paper to bring the elephant to life. As students navigate through the intricate steps, they will develop their fine motor skills and attention to detail.
Once completed, the origami elephant can be displayed in numerous creative ways. One idea is to create a mini origami zoo, where each student's elephant is showcased alongside other origami animals. Alternatively, the elephants can be arranged in a procession, symbolizing strength and unity. Another option is to create a jungle-themed display, incorporating foliage and other origami animals to create an immersive environment. The possibilities are endless, allowing students to explore their creativity and showcase their achievements.
Flower Bouquet
With the art of origami, students can create a stunning flower bouquet that showcases their creativity and craftsmanship. Origami flowers are a beautiful and unique way to explore flower arranging techniques while also learning about different types of flowers. Here are four key aspects to consider when creating an origami flower bouquet:
Color selection: Experiment with different colors and shades to create a vibrant bouquet or opt for a more monochromatic look.
Flower variety: Explore different types of flowers such as roses, lilies, tulips, and orchids to add variety and depth to your bouquet.
Arrangement styles: Try different flower arranging techniques like cascading, round, or asymmetrical arrangements to create a visually appealing bouquet.
Accessories: Enhance your bouquet with leaves, stems, and other decorative elements to add texture and interest.
Peacock
The peacock is a popular and visually stunning origami model that will surely captivate the students in your after school club. Its colorful design is eye-catching and makes for an impressive finished product.
By providing step-by-step folding instructions, you can guide your students through the process of creating their own beautiful peacock.
Additionally, encourage creativity by exploring variations and modifications to the traditional design, allowing students to add their own personal touch to their origami creations.
Colorful Peacock Design
Creating a stunning, vibrant peacock design brings visual appeal and artistic challenge to your 3D origami project. The intricate and colorful patterns of a peacock's feathers can be beautifully replicated using paper quilling techniques.
Here are four reasons why the peacock design is a fantastic choice for your after-school club:
Symbolism: The peacock is often associated with beauty, grace, and freedom, making it a perfect symbol for a club that values creativity and self-expression.
Skill-building: Constructing a peacock design requires precision and patience, allowing club members to develop their fine motor skills and attention to detail.
Color exploration: The vibrant colors of a peacock's feathers provide an opportunity for club members to experiment with different paper shades and combinations, fostering their understanding of color theory.
Showcasing individuality: Each peacock design can be customized with unique patterns and arrangements, allowing club members to express their own artistic style and personality.
Embark on this colorful journey and watch as your after-school club members unleash their creativity through the mesmerizing peacock design.
Step-By-Step Folding Instructions
For a comprehensive guide on constructing a stunning peacock design, follow these step-by-step folding instructions.
First, select a vibrant and sturdy paper that will bring your peacock to life. Consider using origami paper or any other decorative paper of your choice.
Next, gather your origami tools, which may include a bone folder, ruler, and scissors.
Begin by folding the paper diagonally in both directions to create intersecting creases. Then, fold the corners towards the center to form a kite shape.
Fold the top layer of the kite down and repeat on the other side to create the peacock's head and beak.
Continue by folding the sides of the paper upwards to form the peacock's body and tail feathers.
Finally, shape and adjust the folds until you achieve the desired 3D effect.
Enjoy the freedom of creating a magnificent peacock through the art of origami.
Creative Variations and Modifications
To enhance the peacock origami design, consider incorporating unique color combinations and intricate feather patterns. This allows for creative adaptations and innovative designs that will truly make your origami peacock stand out.
Here are some ideas to inspire your modifications:
Experiment with bold and vibrant color schemes, using contrasting hues to highlight different parts of the peacock's body.
Add details to the feathers by using different shades of the same color, creating a realistic and textured effect.
Incorporate metallic or iridescent paper for a dazzling and eye-catching look that mimics the shimmering feathers of a real peacock.
Explore different folding techniques to create a more three-dimensional effect, giving your peacock a sense of depth and movement.
Tree
Within the realm of origami, the tree model offers a captivating challenge for enthusiasts of all skill levels. Creating an origami tree allows you to explore the intricate details of nature and bring it to life through the art of paper folding.
When constructing a tree model, it is important to pay attention to tree identification to ensure accuracy in your design. Study different types of trees and their distinguishing features to capture the essence of a specific tree species.
Additionally, it is crucial to care for your origami tree once it is completed. Display it in a dry and dust-free area to preserve its delicate structure. Avoid direct sunlight and excessive handling to maintain its integrity.
Sailboat
The sailboat model in origami requires precise folding techniques and attention to detail, as well as patience and creativity. Origami enthusiasts can create beautiful sailboat designs using various folding techniques. Here are some creative display ideas for showcasing your origami sailboat:
- Place the sailboat on a small decorative tray filled with blue sand, creating the illusion of sailing on the sea.
- Use a shadow box frame to display the sailboat, adding depth and dimension to the design.
- Attach a string to the sailboat and hang it from the ceiling, giving the impression of a floating sailboat.
- Incorporate the sailboat into a larger origami scene, such as a beach or harbor, to create a captivating display.
To shape the wings of your sailboat, try these techniques:
- Use mountain and valley folds to create creases that allow the wings to stand upright.
- Experiment with different angles and folds to achieve the desired shape and stability.
For a unique twist, consider incorporating a colorful peacock design into your sailboat, adding an element of whimsy and freedom to your origami creation. Let your imagination soar as you explore the possibilities of creating a sailboat that reflects your creative spirit.
Starburst
Creating a starburst origami model requires intricate folding techniques and precise attention to detail. The starburst design is a popular choice among origami enthusiasts due to its stunning appearance and versatility.
There are various starburst variations that you can explore, each offering a unique twist to the traditional model. From simple variations with fewer folds to more complex designs with intricate patterns, the possibilities are endless.

Once you have mastered the art of folding a starburst, you can showcase your creations in various ways. Consider displaying them as wall decorations, hanging mobiles, or even as centerpieces for special events.
Get creative with colors, sizes, and arrangements to create eye-catching starburst displays that will captivate and inspire others. Let your imagination run wild and enjoy the freedom that origami brings.
Eiffel Tower
To construct an impressive Eiffel Tower origami model, gather your materials and carefully follow the step-by-step folding instructions. This iconic structure, known for its elegance and grandeur, can be recreated using the art of origami.
Here are some creative display ideas to showcase your masterpiece:
Place the Eiffel Tower origami model on a shelf or mantel, surrounded by miniature Parisian landmarks, creating a charming French-inspired display.
Attach a string to the top of the Eiffel Tower and hang it from the ceiling, allowing it to gracefully dangle, capturing the attention of anyone who enters the room.
Place the Eiffel Tower origami model on a wooden base and surround it with fairy lights, creating a whimsical and enchanting ambiance.

Incorporate the Eiffel Tower origami model into a larger art installation, combining it with other origami structures to create a visually striking centerpiece.
Let your imagination soar as you explore different ways to showcase your Eiffel Tower origami model, creating a captivating display that embodies the spirit of freedom and creativity.
Frequently Asked Questions
What Are the Basic Materials Needed to Create the 3D Origami Models Mentioned in the Article?
To create the 3D origami models mentioned, you will need origami paper in various colors, offering different design options. Recommended brands or types for this purpose include high-quality, durable origami paper that is easy to fold and manipulate.
Are There Any Specific Techniques or Folding Patterns Required for Constructing These Models?
Advanced folding techniques are essential for constructing intricate 3D origami models. By exploring unique folding patterns, we can unlock the artistic possibilities of 3D origami, allowing for the creation of stunning and mesmerizing structures.
Can These 3D Origami Models Be Made by Beginners or Are They More Suitable for Advanced Origami Enthusiasts?
The 3D origami models offered can be enjoyed by both beginners and advanced enthusiasts. Beginners can learn and practice basic folding techniques, while advanced enthusiasts can challenge themselves with more intricate designs.
Are There Any Online Resources or Video Tutorials Available for Further Assistance in Creating These Specific Models?
There are various online resources and video tutorials available to assist individuals in creating specific 3D origami models. These resources can be beneficial in enhancing after school club activities, promoting cultural exploration, and providing historical context to the art of origami.
Is It Possible to Customize the Colors or Patterns of the Origami Paper Used to Create These Models?
Yes, it is possible to customize the colors and patterns of the origami paper used in creating these models. This allows for endless creativity and exploration, as participants can experiment with different color combinations and patterns to personalize their creations.
 Kids Art ProjectsParty PlanningPaper CraftsOrigami for KidsPrivacy PolicyTerms And Conditions
